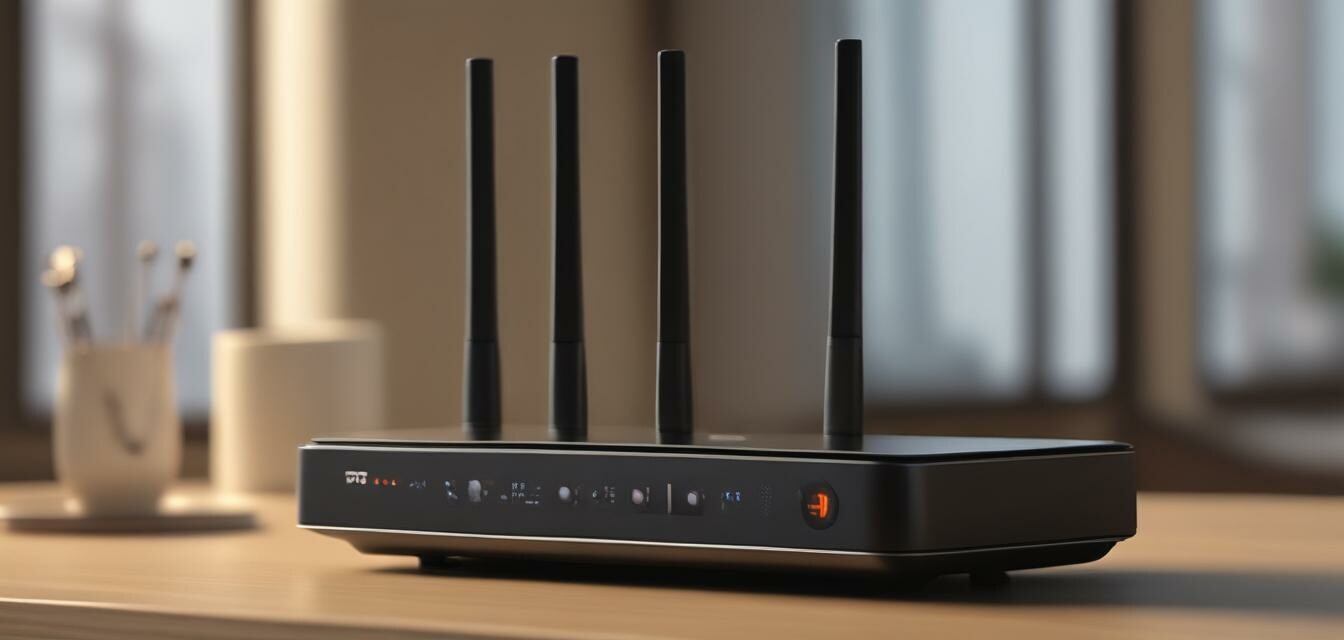
How to Set Up a Guest WiFi Network
Key Takeaways
- Creating a guest WiFi network enhances security by isolating guest devices from your main network.
- Most modern routers allow easy setup for guest networks via their admin interface.
- Configure a strong WiFi password and limit access duration for enhanced security.
- Regularly update your router's firmware to protect against vulnerabilities.
Setting up a guest WiFi network is a practical way to allow visitors to use your internet while keeping your primary network secure. This guide will walk you through the steps to create a secure guest WiFi network for visitors, ensuring they have internet access without compromising your home or office network security. Let's dive in.
Why You Need a Guest WiFi Network
A guest WiFi network offers several benefits:
- **Security**: Prevents unauthorized access to your main network.
- **Control**: You can manage and limit bandwidth for guests.
- **Accessibility**: Guests can enjoy internet access without hassle.
Step-by-Step Guide to Setting Up a Guest WiFi Network
Step 1: Accessing Your router's settings
To start, access your router's settings:
- Connect to your router via a web browser using the router's IP address (usually something like 192.168.1.1 or 192.168.0.1).
- Log in with your administrator username and password. If you haven’t changed it, you can typically find the default credentials in the router's manual or on a sticker on the router itself.
Step 2: Navigating to the Guest Network Settings
Once logged in, find the guest network settings. This may be listed under different terms like:
- Guest Network
- Wireless Settings
- WLAN Settings
Refer to your router's documentation for specifics if needed.
Step 3: Configuring Your Guest Network
Now, you need to configure your guest network:
| Setting | Details |
|---|---|
| Network Name (SSID) | Choose a unique name for your guest network to differentiate it from your main network. |
| Password | Set a strong password to prevent unauthorized access. Use at least 12 characters with a mix of letters, numbers, and symbols. |
| Enable/Disable Guest Access | Enable this option to allow guests to connect. |
| Access Time Limit | Some routers allow you to set time limits for guest access. Consider doing this for additional control. |
Step 4: Enabling Network Isolation
To protect your main network, enable network isolation. This keeps guest devices from accessing your other devices connected to the primary network. Look for the option called:
- **AP Isolation**
- **Wireless Client Isolation**
Step 5: Saving Your Settings
After making your changes, ensure you save the settings. The router may restart automatically.
Testing Your Guest Network
Once everything is set up, connect a device to your new guest network to confirm that it works. Ensure that:
- You can access the internet.
- You cannot see devices connected to your main network (if isolation is properly configured).
Regular Maintenance and Updates
Be sure to regularly update your router's firmware to patch any security vulnerabilities. Manufacturers often release updates that enhance performance and security. For more tips on network security, check out our Network Security Devices section.
Pros
- Protect main network from unauthorized access.
- Easy to set up on most routers.
- Gain control over guest access duration and bandwidth.
Cons
- Some older routers do not support guest networks.
- The setup process varies for different router brands.
Conclusion
A guest WiFi network is an essential feature for homeowners and businesses alike. It allows for secure internet access for guests while keeping your main network safe. By following this simple guide, you can easily set up a guest network that meets your needs. For more resources on optimizing your internet experience, explore our Tips and Tricks category.
